Let’s Begin!
You will need to cut the main base of your card in whatever color you choose. For my card I just grabbed some scraps to do a dry run of the card fold and had planned on finding papers I want to use later, but I ended up liking how my card turned out so I decided to make another and show you how it is done from my perspective!
Card Stock Cut:
Main 4 1/4 x 11
Card Front Base 5 5/8 x 3
Design Papers Cut:
Card Front Base 5 5/8 x 2 3/4
Top of Main 3 3/8 x 4
Bottom of Main 1 3/4 x 4
Middle of Main 1 x 4
Now let’s do some scoring on three of these pieces.
We will score the Main card base, the card front base and the card front design paper as follows.
Using your 4 1/4 x 11 piece score at these measurements.
5 1/2, 6 3/4, 8 3/4, and 10
See photo below
Using your 3 x 5 5/8 piece of card base score at these measurements
3/8 & 1 5/8
See photo below
Using your 5 5/8 x 2 3/4 piece of design paper score at these measurements
3/8 & 1 5/8
See Photo below
Now for the fun part!
Before we move to the next step. I wanted to let you know now is the time to stamp the back of your card with your signature before folding and sticking into place. Be sure it is on the opposite side of the direction of your folds from scoring.
See Photo below
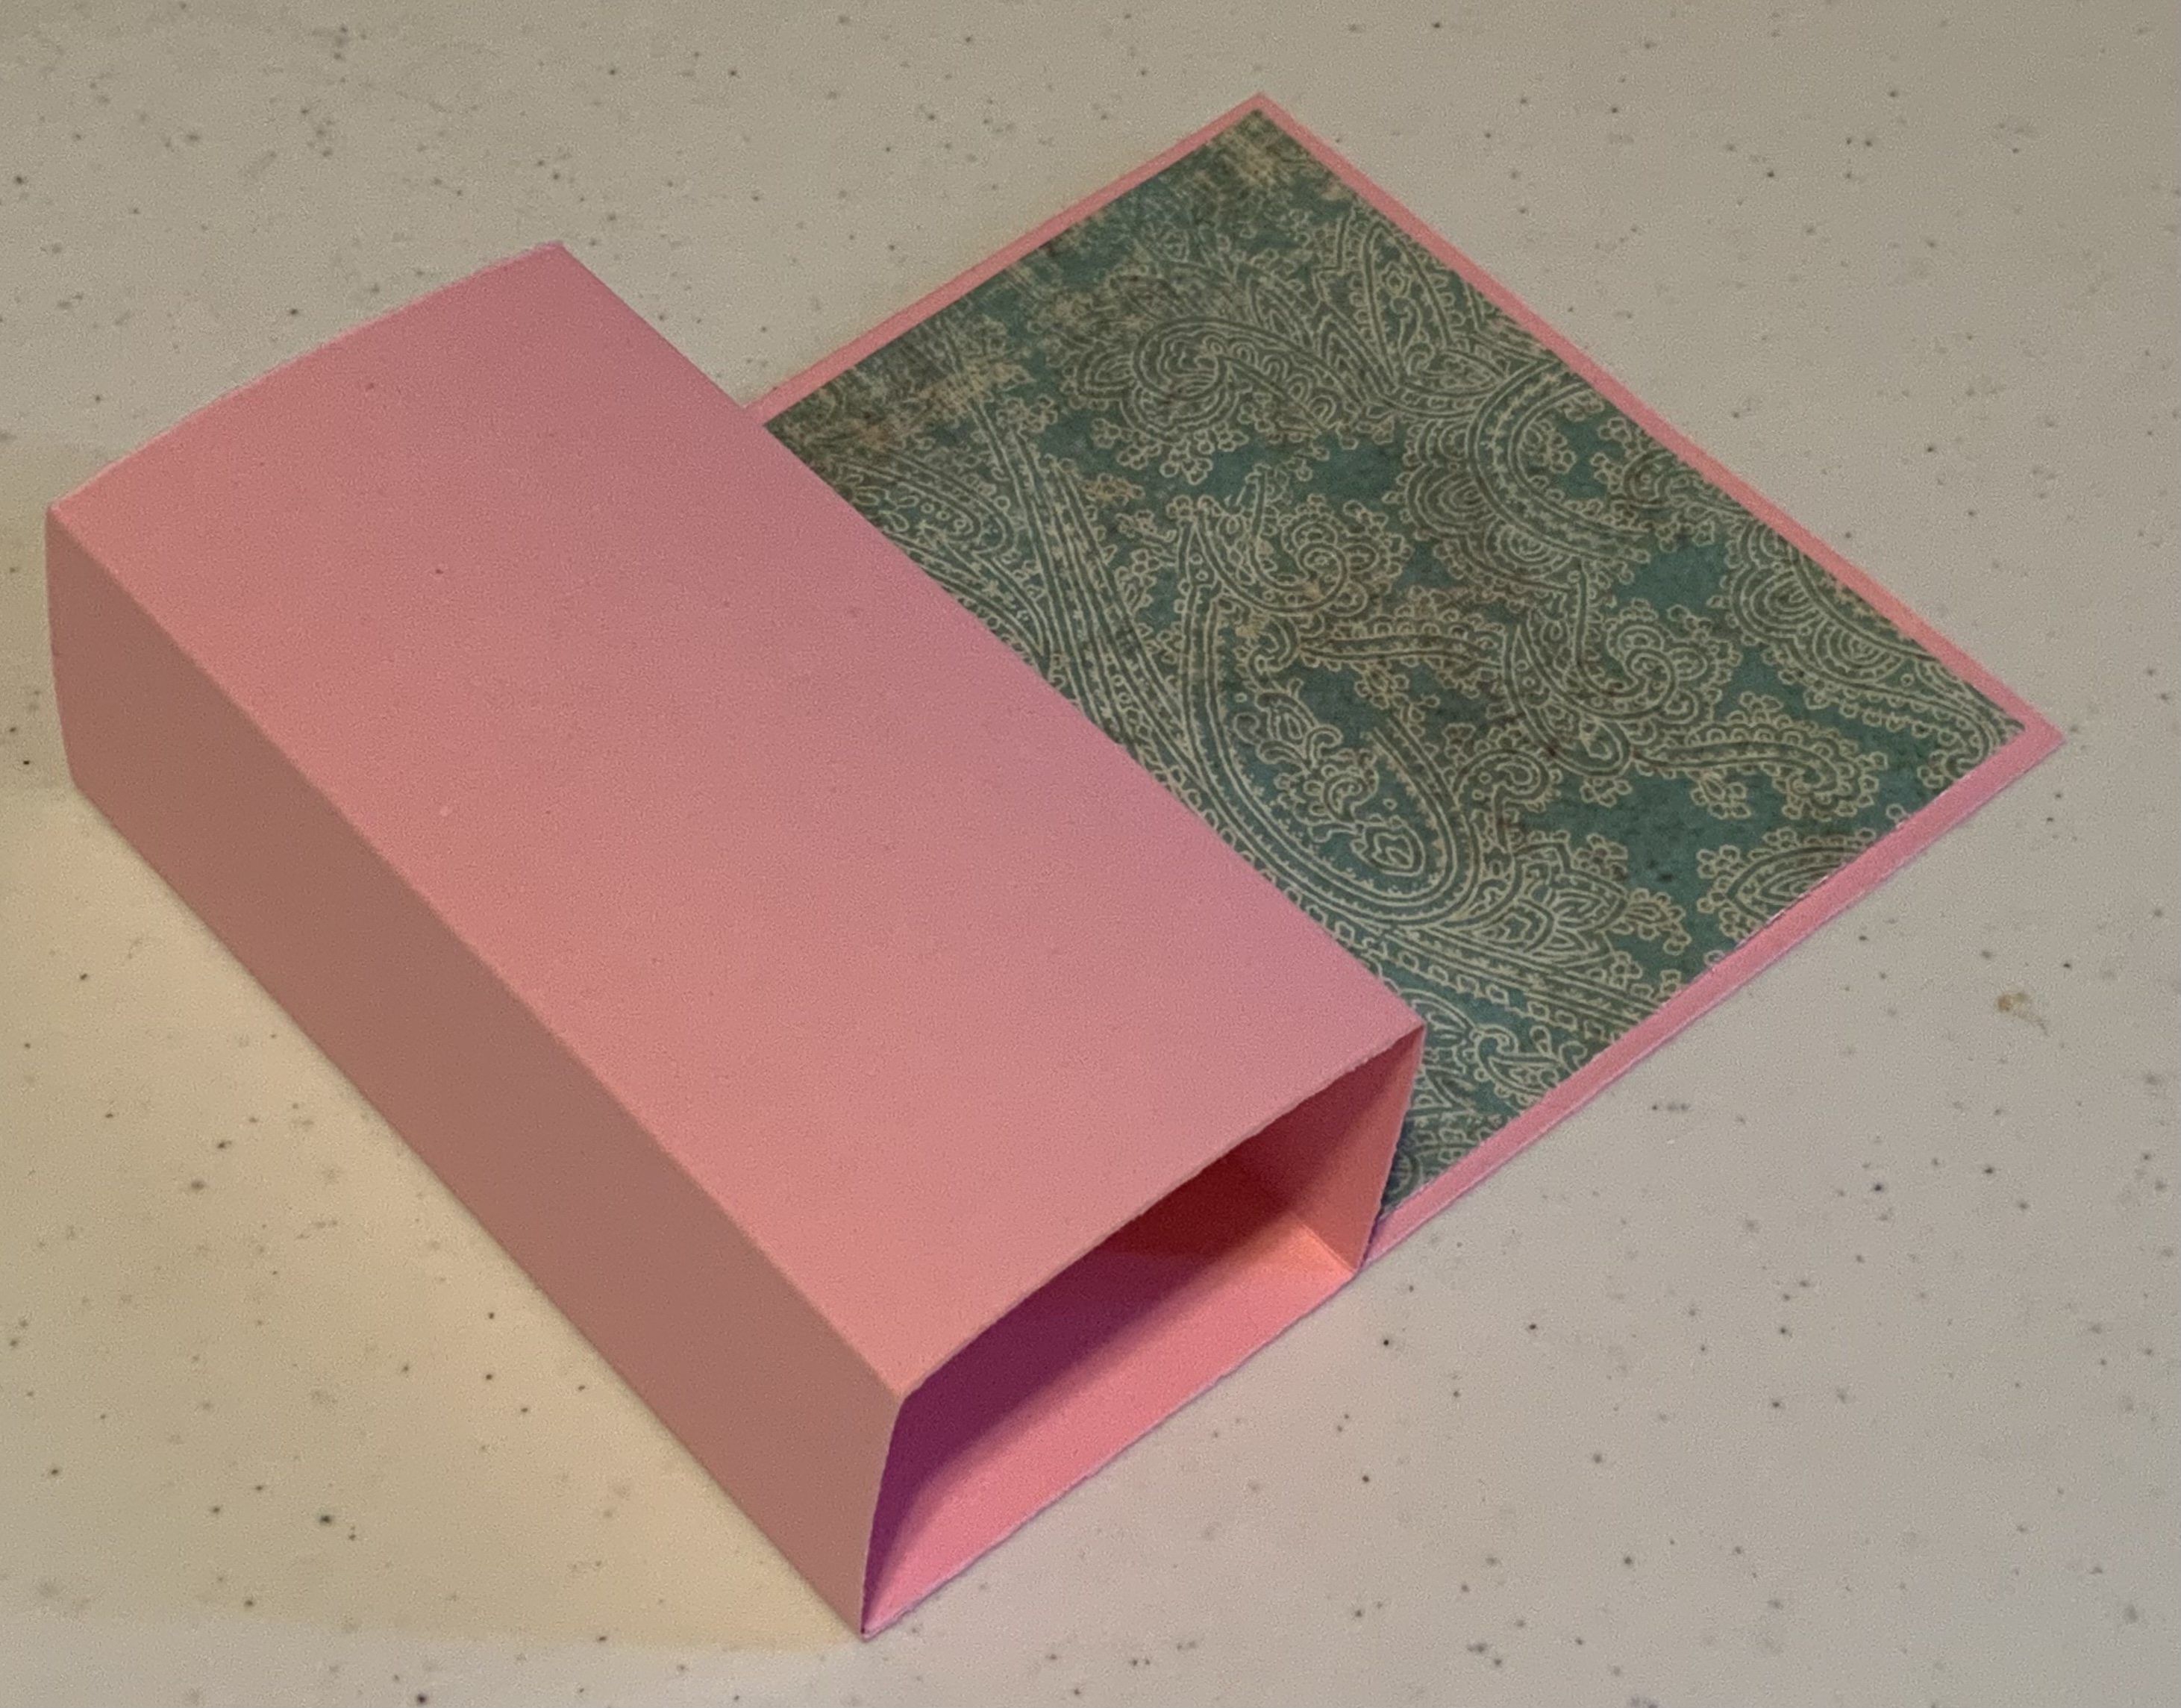
Let’s fold the score lines in the same direction on the Main card stock and you will roll the folds into a coil of sorts so that the bottom flap will be attaching to the main part of the card.
See photo below
Once attached it will look like this!
Now that we have the main body of our card lets work on the card base by attaching our scored design paper to the card base. Fold in same direction on the score line. Be sure to line up the score lines on both sheets when attaching together. As a side note: Now that I am at this step it may have been easier to attach these pieces together and then score them.
See Photo Below
Now we need to add the Main piece of designer paper to the back of the main piece of card stock.
See photo below
Continue adding the other design papers
See Photo Below
Now we will attach the scored card base to the main card base making sure they fold nicely together and flat.
See Photo Below
Now we will attach the scored card base to the main card base making sure they fold nicely together and flat. I line up the bottom while it is flattened and then just stick it down, when you open it back to stand it will all line up nicely.
See Photo Below
Now the final step before decorating is to stick that last piece down that is poking up in the air on my piece. You don’t want to double sticky the entire back just the part that will be attached to the base of the card.
See Photo Below
It will flatten like shown.
See Photo Below
Once it is standing, you can see your signature on the back as shown below.
Now that we have our standing card base complete. We can add on embellishments, and images. For my card I wanted to use up some of these images I over printed to rid myself of this recipe box full of printed images. One of the images I am using is from NanVics Digitals, it was given as a freebie at a website no longer running called Crafters Digital Art Center or known to most of us as CDAC. You can find NanaVics at
The adorable Bunny with Glasses is from Gerda Steiner Designs. I liked him a bunch apparently since I printed out more than enough copies of him. You can find Gerda Steiner Designs at
I colored both images using Copic markers. NanVics egg basket image was colored up when I first started using Copics back in like 2011, so I just added on some highlights. For my bunny I added glitter Stickles glitter to his glasses to give it some whimsy.
Aren’t these stickers so cute!!
The sentiment came from my daughters shop, you can find her on Etsy at Tabs Art Shop. She draws all of her own images and turns them into stationary and stickers. I added some sticker eggs around my card as well. You can find Tabs Art Shop at
Tabitha is adding more images all of the time! So be sure to check out her shop!
Thank you for stopping by to see my tutorial. I hope you will make this card shape for your creations!
Have a wonderful and blessed Easter Holiday!
I entered this card in the Anything Goes with a Critter Challenge at
I entered this in the Anything Goes Challenge at
I entered this card in the Anything Goes Challenge at
I entered this in the Anything Goes Challenge at
I entered this card in the Anything Goes Challenge at